AFRICAN HUT CONSTRUCTION (7)
Towards completion
Photos and captions by John A. HarrisBreaking ground | Preparing materials | Walls begin | Walls built | Roofing begins | Roof takes shape | Towards completion |
Click below to see the photos and information on African hut construction:
helping with roof poles
more roof work
completing roof
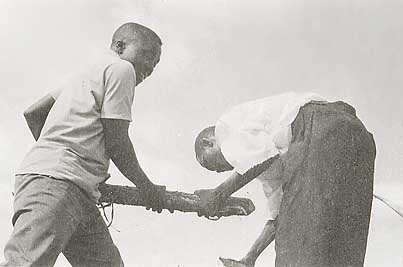
HELPING WITH ROOF POLES
Click on image to return to gallery
Some tasks require teamwork. Here for instance one man holds up the short ridgepole while Thomas binds on the long rafter poles. |
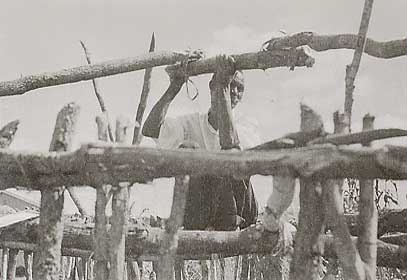
MORE ROOF WORK
Click image to return to gallery
Thomas holds up the ridgepole while his friend attends to the lower ends of the rafters (out of picture). |
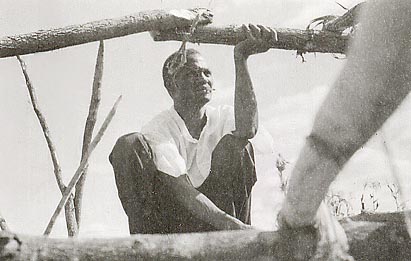
COMPLETING ROOF
Click image to return to gallery
The lower ends of several rafters are tied to the walls while (as in the previous picture) Thomas squats on the skeleton (over the center post) holding the ridgepole. The frame of the house is virtually complete. The final stage (not shown) is to fill spaces between the wall uprights with a mixture of clay and straw. This dries to form a strong solid wall that will last several years with occasional repairs. Fine mud smoothens the wall to which decoration is applied. The roof is completed with thatch made from large bundles of the tall elephant grass (see photo). The single stems of grass are each long enough that only one layer is needed, radial about the center post. The base of the grass bales is set toward the apex of the roof, and the top of the bale faces down. Rain readily runs off and a small opening remains for fire smoke to escape |


